How to Organize a Photography Session — Checklists, Galleries, and Release Forms
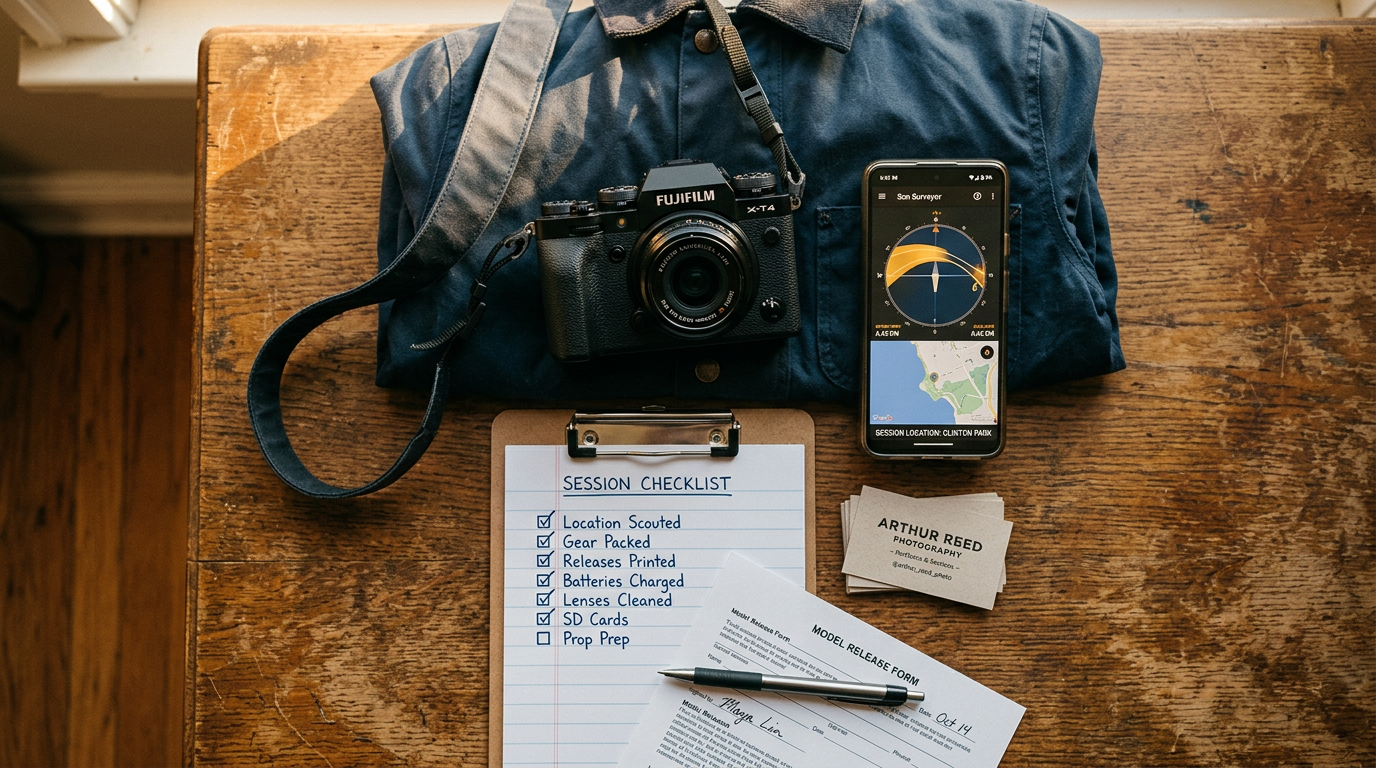
Video productions get all the attention when people talk about "production management," but a photography session has just as many moving parts — they just happen faster and closer together. You've got less time to catch a mistake, which means the organization has to happen before the shutter ever clicks.
Here's how to run a photography session end to end: scouting, the day-of checklist, the releases you actually need, and getting the gallery into your client's hands without a mess of email threads.
1. Scout the Location Before You Book Anything
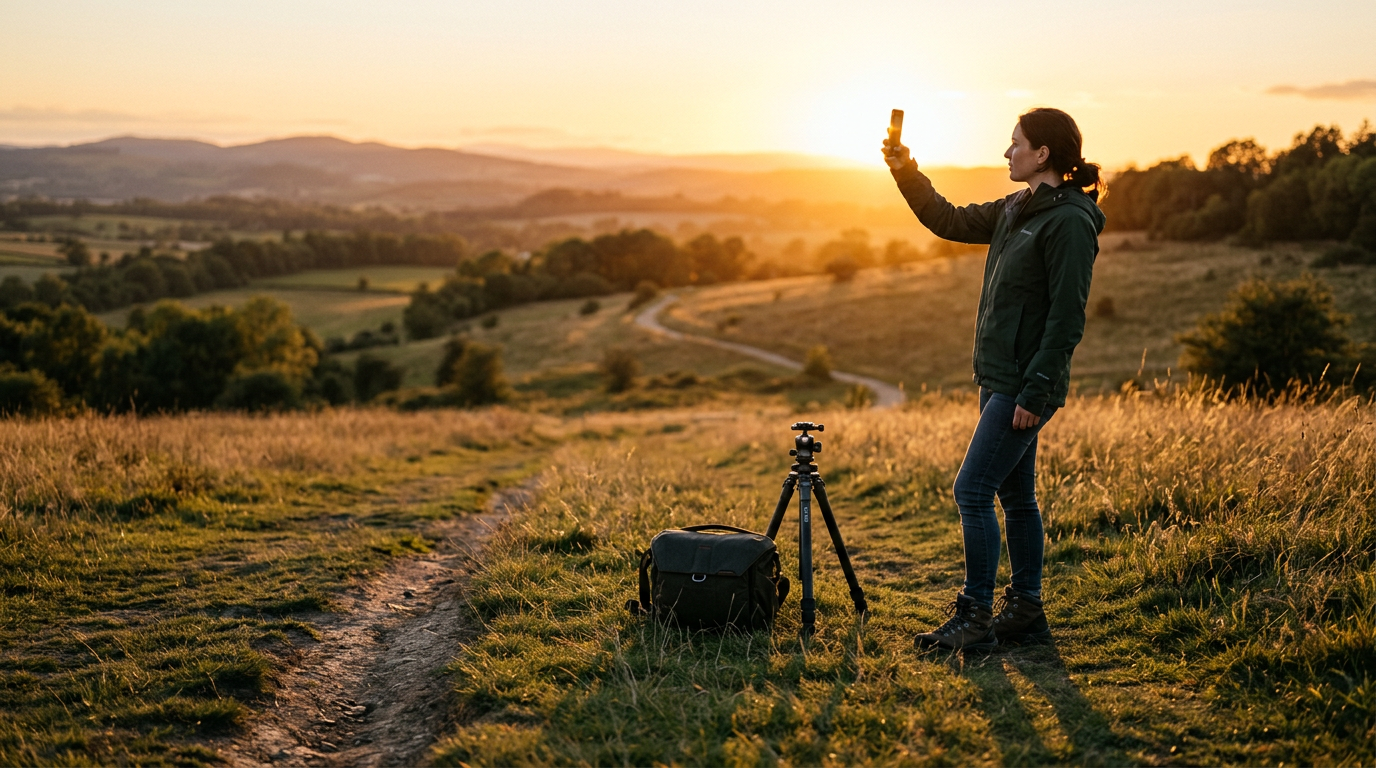
Never show up to a location for the first time on shoot day. A five-minute walkthrough (or even a Google Street View pass, if you can't get there in person) tells you things a client's description never will — where the light actually falls, whether there's parking, whether the "quiet park" has a construction crew in it on weekdays.
The single biggest variable outdoors is the sun, and you don't have to guess. I use PhotoPills to check exactly where the sun will be at the date and time of the session — azimuth, elevation, golden hour and blue hour windows, all mapped onto the actual location before I ever drive there. For a 4pm session in October, that's the difference between backlighting your subject perfectly and fighting harsh side light you didn't plan for.
While you're scouting (in person or virtually), also check:
- Permit requirements — some parks, beaches, and private properties require one for anything beyond casual personal photos
- A backup location — for weather or if the primary spot is unexpectedly unavailable
- Bathroom access — non-negotiable for family and kids sessions
- Parking and load-in — especially if you're carrying lighting gear
2. Send a Pre-Session Questionnaire
A short form before the session eliminates most of the back-and-forth that eats into your week. Ask for:
- Wardrobe plans and color palette (so you can flag clashing colors before shoot day, not during)
- Anyone else in the frame — kids, partners, pets — and their names
- Must-have shots, in their words
- Hair/makeup timing if applicable
- How they found you (worth tracking for your own marketing, separate from the shoot itself)
3. Build Your Session-Day Checklist
This is the list that keeps a session from unraveling when something goes sideways. At minimum:
- Batteries charged (both bodies if you shoot with two)
- Memory cards formatted and backup cards packed
- Lens cleaning kit
- Model/talent releases printed and a pen that works
- Shot list or timeline card
- Portable charger / power bank
- Weather contingency plan already decided, not improvised on-site
Keep this checklist attached to the project itself, not floating in your head or a sticky note. Crexels.io has pre-production checklists built for photo sessions so you're checking off the same list every time instead of reconstructing it from memory.
4. Understand What a Release Actually Does
This trips up a lot of photographers, so it's worth being precise: as the photographer, you own the copyright to the images you create. That's true by default the moment you press the shutter, regardless of who's in the photo or who paid for the session. A release isn't about who owns the image — it's about who has permission to use the person's likeness that's in it.
That's also why, as the photographer, releases run in two directions:
From the talent/subject to you — permission to use their likeness in the photo. Without this, you technically can't publish or license an image of a recognizable person, even though you own the copyright to the file itself.
From you to your client — a license telling the client what they're allowed to do with images you retain ownership of. A client who paid for a portrait session doesn't automatically get unlimited commercial rights just because they paid you — unless your release or contract says so.
5. Match the Release to the Type of Session
The release you use should scale with how the photos will actually be used, not be identical every time.
Portrait sessions and social media content: I'm comfortable giving talent a broad, blanket release here — they can use the photos however they like, post them, put them in a personal portfolio, whatever. The risk is low, the use case is personal, and making it simple keeps the relationship easy. I still retain copyright as the photographer, but the usage grant is wide open.
Commercial work: This needs a real, specific release, not a generic form. At minimum it should spell out:
- Usage duration — six months, one year, in perpetuity
- Media/channels — web only, print, broadcast, paid ads, all of the above
- Geography — local market vs. national vs. worldwide
- Exclusivity — can a competing brand use the same image
- Compensation — flat fee, usage-based, trade (common in portrait/headshot work as "time for prints")
- Minors — a parent or legal guardian signs, always, no exceptions
- Right of approval — whether talent gets to see final images before commercial use
Get the commercial release signed before the session, not after — it's a much harder conversation once the photos already exist and someone's asking for more money.
6. Deliver Through a Proper Gallery, Not a Zip File
However you deliver the final images, the client shouldn't be digging through an email attachment or a random Dropbox link with no context.
A good delivery setup includes:
- A password-protected or unique-link gallery — not indexed, not guessable
- Proofing before final delivery — watermarked low-res previews for selects, full-res only after selections (and payment) are locked in
- An expiration window on the link, clearly communicated, so you're not hosting every gallery forever
- Resolution tiers — web-res for social, full-res for print, so clients aren't uploading a 40MB file to Instagram by accident
- A clear favorites/culling step if you're delivering a large batch for the client to narrow down
This is also where a project-based system pays off — the gallery link, the release forms, and the client's contact info should all live in the same place, not scattered across three different tools.
7. Wrap the Session Properly
The shoot ending isn't the finish line. Before you consider it closed:
- Back up the files — the 3-2-1 rule (3 copies, 2 different media, 1 off-site) isn't overkill, it's the minimum
- Confirm final payment before releasing full-resolution files, if that's your policy
- Archive the project — don't delete it. Clients come back eight months later asking for a file or a reference from a session you'd otherwise have forgotten
- Send a short thank-you and, if it fits the relationship, ask for a referral while the experience is still fresh
---
None of this needs to live in your head or across five different apps. Crexels.io keeps the session checklist, the client info, the release forms, and the gallery link together in one project — so when a client asks "can you send me that release from the shoot last spring," you're not searching your email from six months ago.
Crexels.io is built for photographers and creative studios who'd rather spend their time shooting than hunting for paperwork. Free to start, no credit card required.
Ready to organize your productions?
Crexels.io is free to start — no credit card required.
Start Free Today